HDD Repair-WD HDD Head Depopping Options And Steps
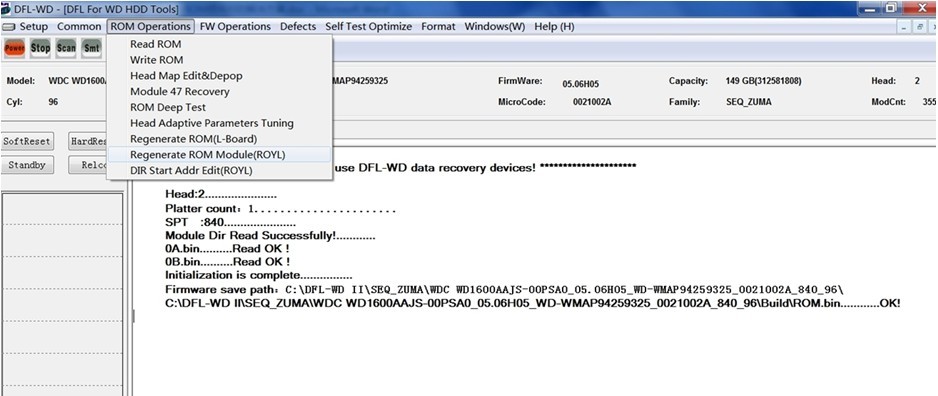
This article teaches users who are using DFL-WDII HDD firmware repair tool to depop the heads successfully with detailed steps and suggestions in different WD hdd failure situations. It can help users improve their hdd repair and data recovery success rate effectively.
Please Make sure there’re no FW modules which are not damaged before depoping the heads, otherwise, you may fail to depop the heads.
We are sorry but the following contents are available only to our existing users who are using DFL-WDII hdd firmware repair tool.
[protect password=”greendolphin”]
WD HDD Head Depopping Steps: Option 1
1 Clear Smart and G-list
2 Clear Translator
3 Generate another copy by editing the OB automatically
4 Depop the head
5 Restart and then perform the low-level formatting.
WD HDD Head Depopping Steps: Option 2
If you fail to depop the head by Option 1, you may select Option 2 to depop the head.
1 Clear Smart and G-list
2 Clear Translator
3 Generate another copy by editing the OB automatically
4 Depop the head within the head map
5 Enter the ARCO configuration interface, input 1 in the box used to lower the capacity (Input 2 if you fail to use 1), click lower the capacity.
6 Restart and the capacity and ID match automatically, perform low-level formatting and now you make it.
WD HDD Head Depopping Steps: Option 3-For Clicking WD ROYL drives
1 Modify 0A firstly
2 Find the patient head and cut 0A
3 Enter ARCO configuration interface if the HDD is detected, input 1 to lower the capacity. It can reset the current capacity and TPI to the default status according to the 0A.
4 Restart and run low-level formatting, done.
** If there’re a lot of bad sectors within the hdd, we can run ARCO at the 4th step above.
5 Enter ARCO and initialize it
6 Run ARCO
7 RUN PST, Done
Note: You need to lower the capacity by inputting 1 or 2, if there’s no error indication, you can then perform the head depopping operation for WD PCB 1640 series.
[/protect]


