How To Repair And Recover Western Digital PCB 1698 And Newer Hard Drives
This article is to demonstrate the hdd repair functions of DFL-WD II hdd repair tool on how to repair western digital PCB 1698 and newer series hard drives.
The following is one new hdd repair case study but if users want to recover the data from this hdd, it’s required the users have a backup of the original firmware modules, at least the key data recovery modules of this hdd. In the end of this case study, the hdd is restored and then write back the key data recovery modules, the data can be recovered.
November 19, 2012
By Dolphin Data Lab
http://www.hddtools.net
sales@dolphindatalab.com

Power up the hdd;
![]()
Auto Get Details and the SPT value cannot be recognized correctly, the correct value should be 1980 while it’s now detected as 49743 when we click ‘Get SPT’;
Close the current interface, click the Power button, power off the hdd and power it on again;
Autoget details and the same wrong SPT was got and now we need to load overlay-load module 11 and after the module 11 was loaded successfully, the HDD ID and the SPT value are detected correctly, click ok to enter the program’s function interface;
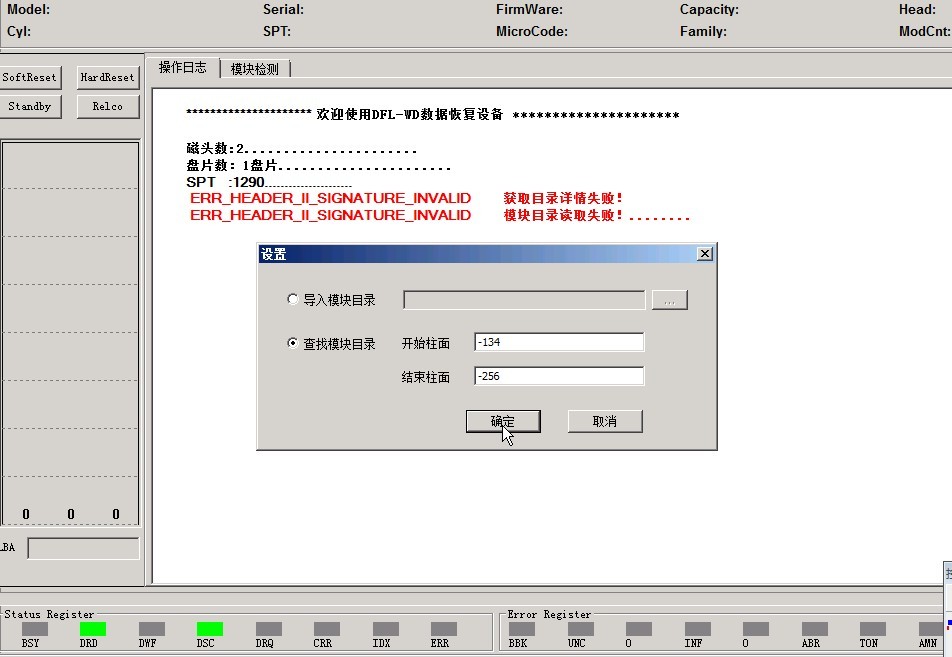
From the log section, we see the errors reading module directory;
Next is trying to write module 01, after the module 01 is written, power off the hdd and power it up, auto get details, load module 11, click ok to enter function interface, at this time, the module directory is read successfully;
Next is to write all other modules except module 01, but from the logs, we met module write errors;
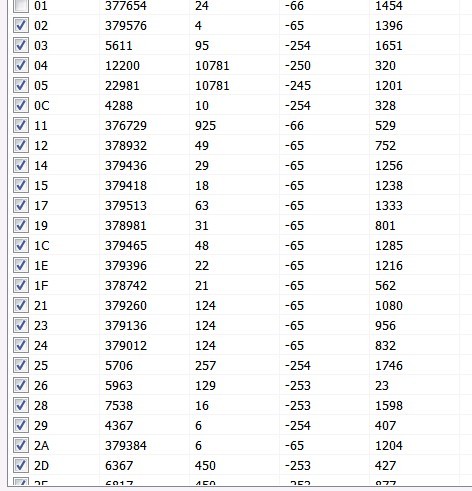

(You must ask why the modules failed to be written? This is because for WD PCB 1698 or newer WD drives, a direct load of ATA cannot load the hdds normally due to the big buffer which requires the module 13 to control it in a normal working way.)
When the modules cannot be written due to the lack of module 13 and therefore, users can try to write tracks.
Next is to write tracks by ticking both head 0 and head 1;
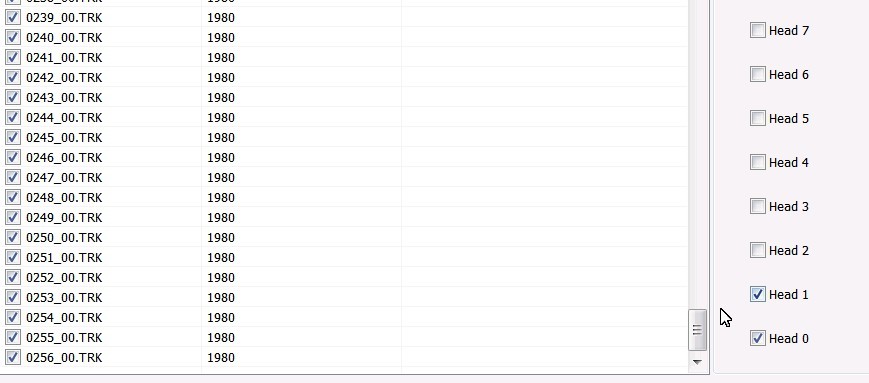
After all tracks are written successfully, close the current interface, power off the hdd and power it up again.Enter the function interface, the log section displays module directory read error and the HDD ID is not detected;
Next is to write ROM, to write the main ROM file-ROM.bin is enough;
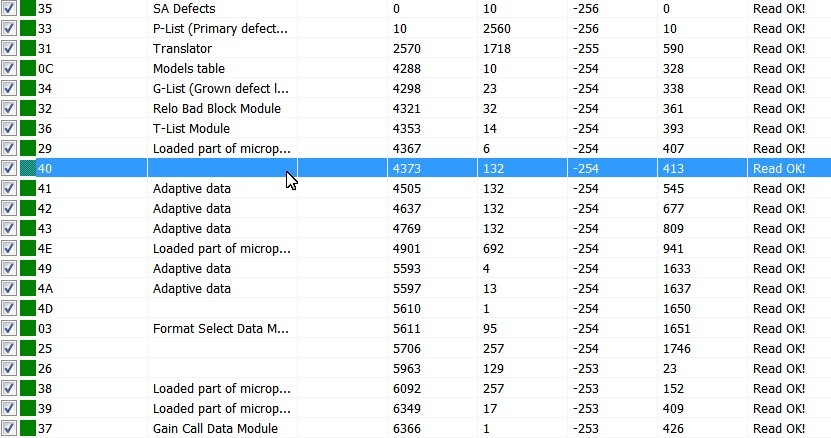
After the main ROM is written successfully, close the current interface, power off the hdd and power it up, the HDD ID is detected and no error is displayed in the log section and to test the modules by ID, all modules are read ok.
