How to Set The Target Disk Smartly for HDD Disk Imaging
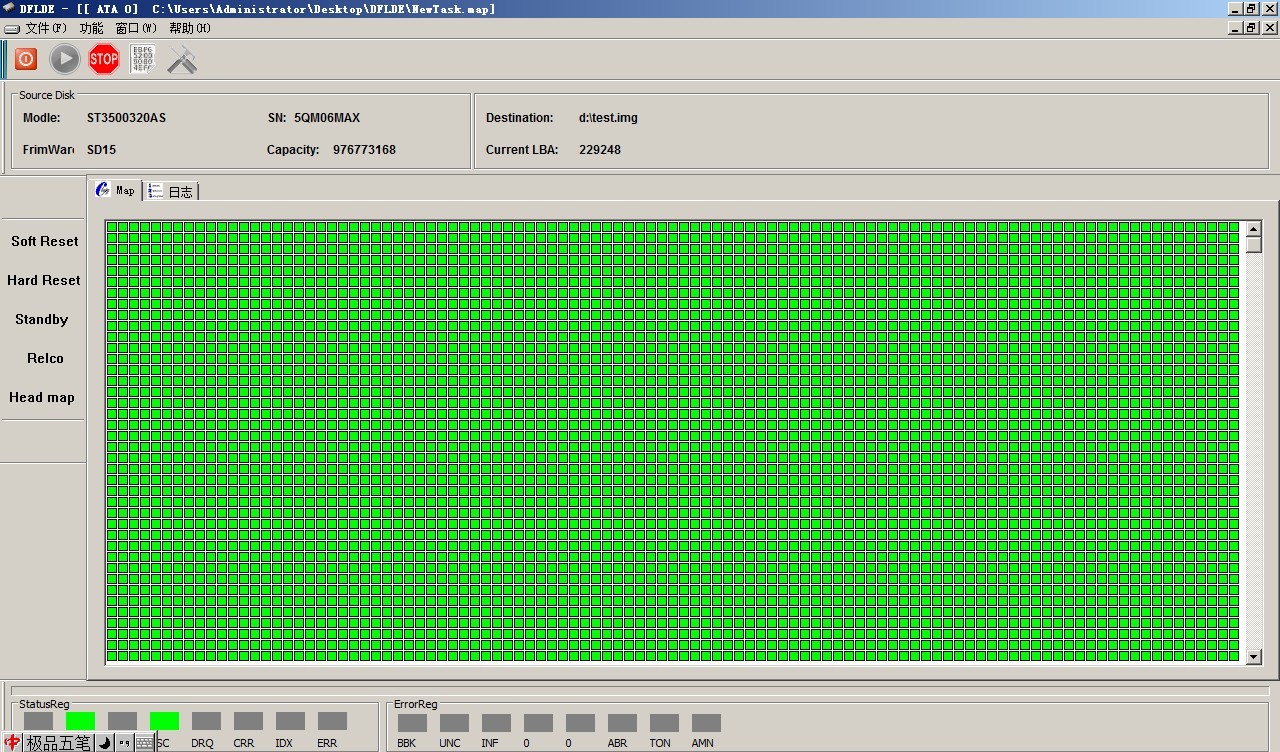
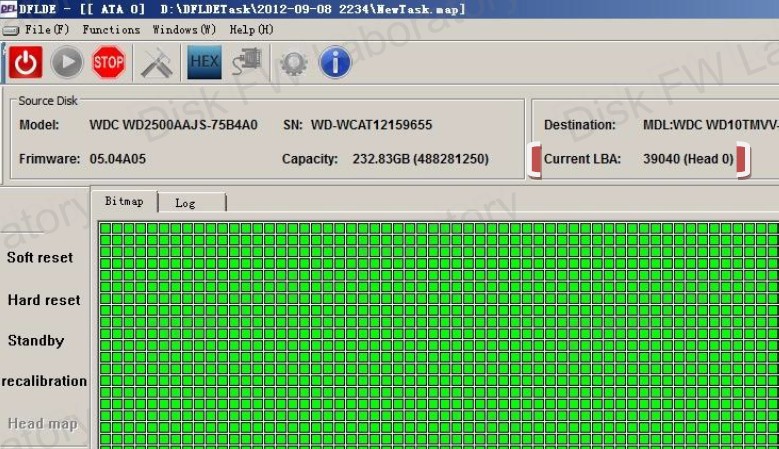
To work with Dolphin DFL data recovery tools, it’s very necessary to set one target disk whenever users are trying to read from the original hard drives. DFL-DDP data recovery tool has one unique and very helpful disk imaging feature and that is to record all read operations to the target disk and all read sectors within the data drive will not be read for a second time.
So how to set a target disk smartly?
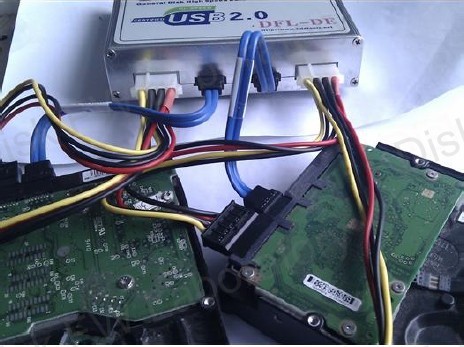
Users can image to drive: image data drive to target drive connected to DFL data recovery hardware, for example, image from SATA 0 to SATA 1, SATA 2, etc; image data drive to target drive such as external hard drives connected to pc; Image data drive to VHD/VHDX target disk.
Here Dolphin engineers strongly recommend to use VHD/VHDX as target drives. Users can connect one SATA hard drive with big capacity, such as 10TB to pc by the Universal USB to SATA adapter Pro., and then users can create multiple VHD or VHDX drives on this SATA HDD, next users can image different data drive to different VHD or VHDX drives. All these VHD(X) drives are independent from each other.
Why do we use SATA drive and the adapter, because SATA drives are much cheaper than external hard drives and the adapter helps to make the SATA drives portable easily.
Any question is welcome to sales@dolphindatalab.com or add Dolphin Skype ID: dolphin.data.lab



Leave a Reply
Want to join the discussion?Feel free to contribute!