How To Run WD HDD Selective Head Image

This article is to show the whole process of selective head image on Western Digital USB hard drives.
HDD ID:
Model: WDC WD10JMVW-11AJGS0
Capacity: 1TB
Microcode:0006000M
DFL-URE has two USB3.0 ports, I have connected the WD USB hard drive to the second USB port
Power on the USB drive and wait until it gets ready
and in the log sections, users will find Searching completes when the hdd is ready.
click disk image
create new project
select source disk-USB ATA1
next select target disk and here users can select to image to disk or image to file
Now we have entered the disk image interface
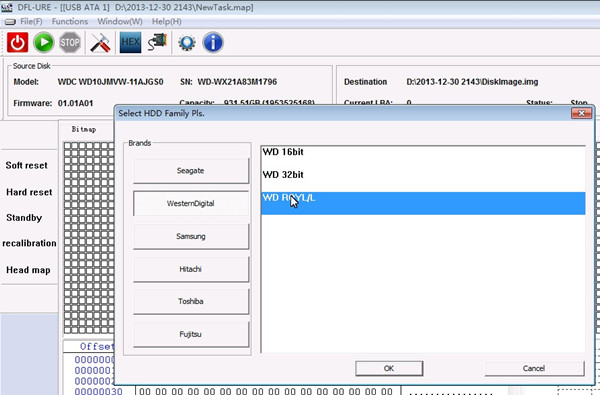
On the left side, we can find head map which is actually where we start the selective head image
click on it and users need to select the hdd brand and select the family
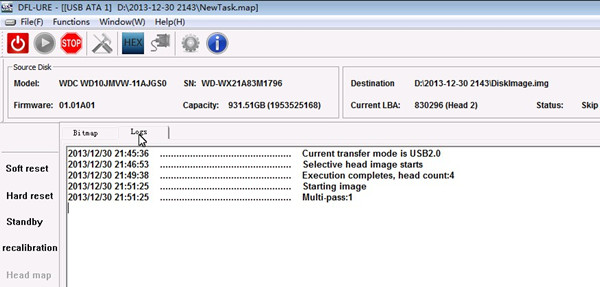
Now we can see the head map is being created and the selective head image command is being executed
Status is running, users can see this one.
We can check the progress bar for the process
I am actually using the USB2.0 on my PC, if it’s USB3.0 it will be much faster
head map is created successfully
Next go to settings interface
CLick Image by Head and then enable selective head image and then select the heads you want to image
For example, I select head 0 only to image
Next click Start
From the Current LBA: we can see the program is reading head 0 and bypassing other heads.
During the image, we can not only see the data on the fly, but see also the imaging speed on the bottom right side.
Any question is welcome to sales@dolphindatalab.com.
Official URL of DFL-URE: http://www.dolphindatalab.com


