Section 1: Work Modes
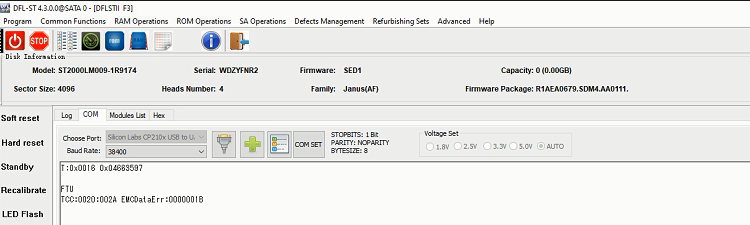
Toshiba drives work in both ATA and COM modes, Fujitsu drives work mainly on ATA mode, for password removal, need to work in COM mode.
Section 2: Repair Modes
DFL Toshiba/Fujitsu firmware repair tool can do both hdd repair and hdd refurbishing, hdd repair is to fix firmware failures without affecting data but hdd refurbishing will remove bad sectors and destroy data.
Section 3: Number of HDD Supported by the DFL Toshiba/Fujitsu Hardware
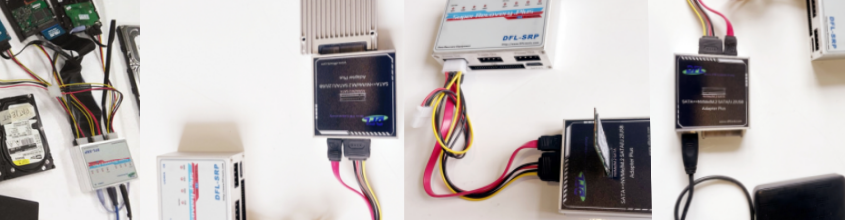
Users can connect 3 drives to DFL-SRP Toshiba/Fujitsu Portable HDD Repair Tool and 4 drives to DFL-PCIe Toshiba/Fujitsu HDD Repair Tool.
Section 4: Operating System to Install the software
Win 7, Win 8, Win 10, any of them is ok. DFL tools have unique driverless technology, no need to install drivers.
Section 5: Biggest Advantages over Competitors
Easy to use and install on any pc, powerful with best technique support and data recovery resources.
Section 6: What Kind of WD HDD Failures DFL WD can Fix
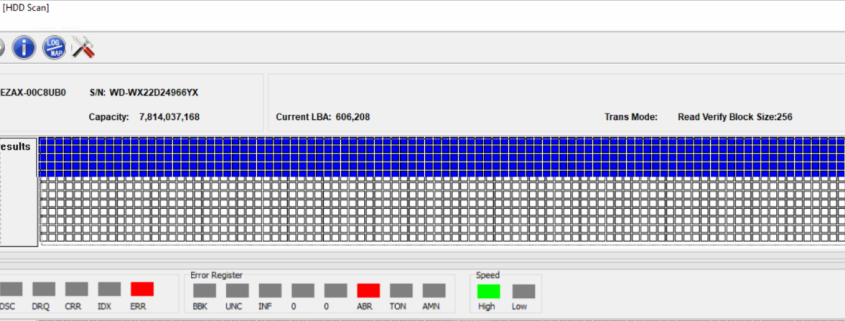
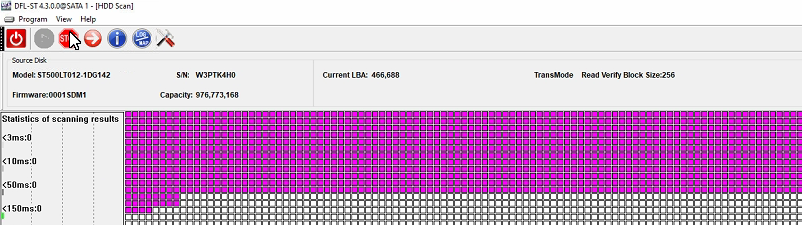
01: Toshiba/Fujitsu HDDs with many bad sectors;
02: Toshiba/Fujitsu HDDs with ATA locked;
03: Wrongly detected Toshiba/Fujitsu hard drives;
04: 0 capacity detected Toshiba/Fujitsu hard drives;
05: Non-detected/Busy Toshiba/Fujitsu hard drives;
06: Dead Toshiba/Fujitsu hard drives, to fix this kind of dead Toshiba/Fujitsu drives, users need to have flash programmer, donor PCB sources or physical head and platter swap tools to work with DFL Toshiba/Fujitsu firmware repair tool;
Section 7: Common Toshiba/Fujitsu HDD Firmware Failures-Quick Fix
01: Clear G-list;
02: Virtual translator;
Section 8: ROM and SA Operations
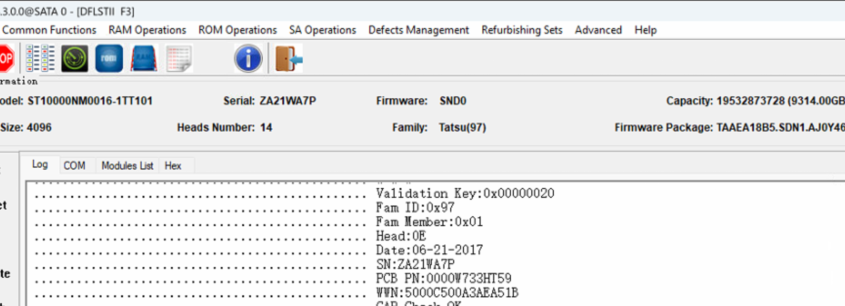
01: Read ROM;
02: Read/write firmware modules;
03: Read/write tracks;
04: Edit ID;
05: Password removal;
06: Heads read write test;
07: Techno on/off;
08: Smart on/off;
09: ECC error on/off;
10: Flash permanent cache on/off;
11: Cut zones;
12: Cut heads
13: Start/Stop Motor.
Section 9: Defects Operations
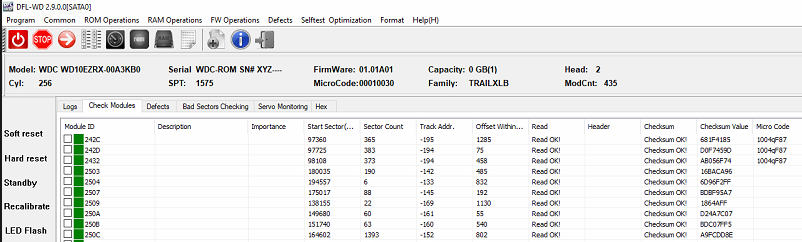
01: View/Clear G-list, P-list;
02: G to P;
03: View/Reset Smart;
04, Virtual translator;
05: Scan defects and add to G/P-list.
Section 10: Fujitsu HDD FW operations
01: Read/Write ROM;
02: Sector Edit;
03: Edit SN;
04: Remove Password;
05: Read/write modules;
06: View/Reset Smart;
07: Format;
08: Scan and add defects to defect list;
09: Clear T-list/P-list.